How to Upscale Low Resolution AI Images Without Losing Quality
You generated the perfect image. The composition is right, the mood is exactly what you wanted, and then you try to use it for a larger print or a bigger display, and suddenly it looks blurry, soft, or pixelated.
The resolution that looked perfectly fine on your screen falls apart the moment you need it bigger. It's a frustrating discovery, especially after finding an image you actually love.
Here's some reassurance before we go any further. Upscaling AI images properly is a well-developed, accessible process, and you don't need professional editing software or advanced technical skills to do it well.
Why Low Resolution Feels Like Such a Frustrating Setback
Discovering that a great image can't be used at the size you need doesn't just create a technical problem. It feels like losing something you were genuinely excited about.
- You found the perfect AI generated image, only to realize it's too small for your intended use
- You've tried resizing it in basic editing software, and the result looks soft, blurry, or pixelated
- You're not sure if there's a real way to fix this, or if you simply need to start over and regenerate something new
- You feel like you're missing some technical step that more experienced users already know about
A lot of people rely on basic resizing tools that aren't actually built to add detail, which explains why simple resizing so often produces disappointing results.
- Standard resizing simply stretches existing pixels, rather than intelligently adding new detail, which is exactly why blur and pixelation appear
- Many people don't realize specialized AI upscaling tools exist specifically to solve this problem, separate from basic resizing
- Regenerating from scratch at a higher resolution doesn't always reproduce the same composition or details you originally loved
- Without understanding how upscaling actually works, it's easy to assume a low resolution image is simply unusable
There's a real disappointment tied to this discovery. Finding an image that perfectly matches what you pictured, only to learn it can't be used the way you intended, feels like an unnecessary loss.
- It can make you hesitant to invest time crafting detailed prompts, worried the result might end up unusable for your actual purpose
- It adds frustration to a creative process that's supposed to feel rewarding, not limited by technical resolution issues
- It can make you regenerate repeatedly at higher settings from the start, which takes more time than necessary if upscaling could solve the problem instead
Here's the encouraging part: AI upscaling tools are specifically designed to intelligently add detail back into a low resolution image, producing results that basic resizing simply can't match.
Standard image resizing works by stretching or duplicating existing pixels to fill a larger space, which is exactly why this method produces blur and visible pixelation. There's no new information being added, just the same limited detail spread across more space.
AI upscaling tools work differently. These systems are trained on massive amounts of image data, learning patterns about what realistic detail, texture, and edges typically look like. When upscaling an image, the AI generates plausible new detail based on these learned patterns, rather than simply stretching existing pixels, producing a result that looks meaningfully sharper and more refined.
What You'll Need Before You Start
Gather these basics before upscaling your image:
- The original AI generated image file, ideally the highest resolution version you currently have
- An AI upscaling tool, many of which are available directly within AI image generators or as separate dedicated tools
- A clear target resolution or size, based on your intended final use
- Patience for a few test attempts, since different tools and settings can produce noticeably different results
Many AI image platforms now include upscaling features built directly into their existing interface.
Step 1: Start With the Highest Quality Original Available
This step matters more than people often realize, since upscaling works best with a strong starting point.
Locate the original, highest resolution version of your image, rather than a version that's already been compressed, resized, or shared through a platform that reduces quality automatically. Compression artifacts get amplified during upscaling, not corrected.
Avoid upscaling an image that's already been upscaled once before, if possible, since repeated upscaling can introduce unwanted artifacts or an overly smoothed, artificial-looking texture.
Think of this the way you'd think about photocopying a document. A copy of a copy loses clarity each time. Starting from the clearest original available produces the best final result.
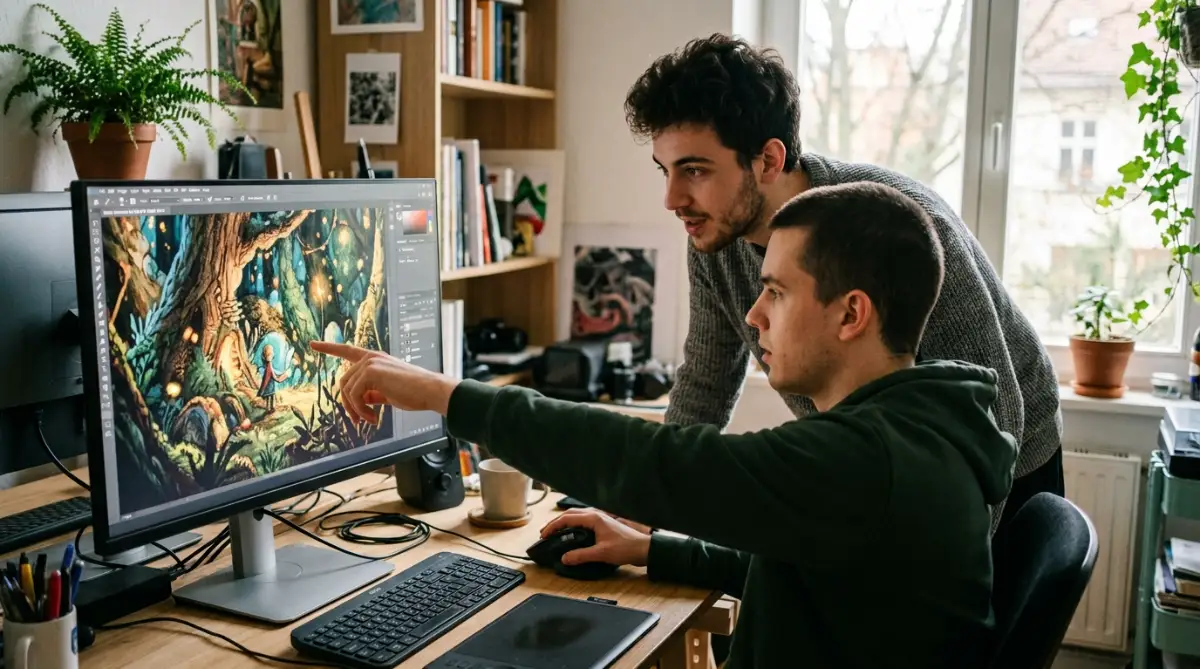
Step 2: Choose an AI Upscaling Tool Suited to Your Image Type
Not all AI upscaling tools are optimized for the same kind of content.
Some upscaling tools are specifically trained on photographic detail, while others are optimized for illustrated or stylized artwork. Using a tool trained on the wrong type of content can produce results that look subtly unnatural or inconsistent with your image's original style.
If your AI image generator includes a built-in upscaling feature, try that first, since it's often specifically calibrated to work well with images generated by that same system. If you need more control, a dedicated upscaling tool may offer additional settings for fine-tuning the result.
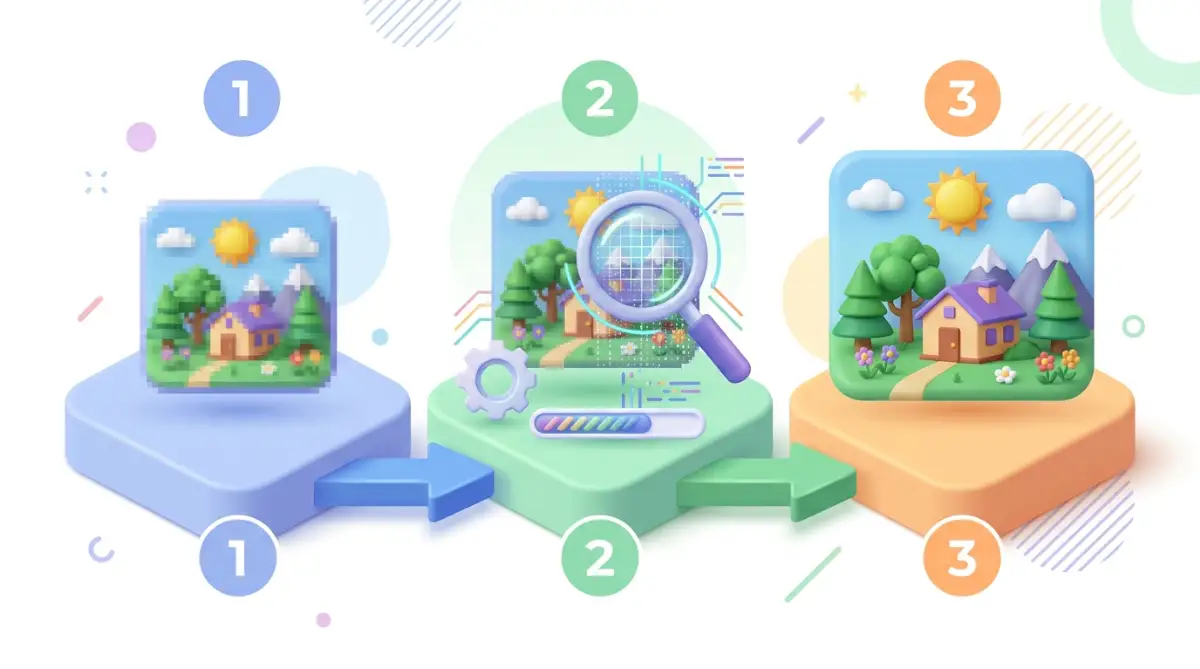
Step 3: Upscale Incrementally and Review Each Stage
Jumping straight to an extremely large target size in one step doesn't always produce the cleanest result.
Consider upscaling in moderate increments, like doubling the resolution first, reviewing the result, and then upscaling again if you need an even larger final size. This gives you the chance to catch and address any unwanted artifacts before they compound across multiple scaling steps.
Zoom in closely on fine details after each upscaling pass, like textures, edges, and any text or intricate patterns, checking specifically for unnatural smoothing or distortion. Catching issues early saves time compared to discovering problems only after the final, largest version is complete.
If you've successfully upscaled even one image and noticed cleaner, sharper detail compared to basic resizing, you've already experienced the core benefit this process offers. The next part of this guide covers more advanced upscaling techniques and the mistakes that tend to produce weaker results.
Fine-Tuning Results: Advanced Upscaling Techniques
Once basic incremental upscaling feels comfortable, these next techniques help handle trickier images and push final quality even further.
Trick 1: Use Selective Sharpening After Upscaling
Many upscaling tools include an adjustable sharpening or detail intensity setting, separate from the core upscaling process itself. Applying a light, selective sharpening pass afterward can help fine details, like textures and edges, feel crisper without looking artificially harsh.
Avoid pushing sharpening too far, since excessive sharpening can introduce visible halos or unnatural edge contrast around details. A subtle adjustment usually produces a more natural, polished result than an aggressive one.
Think of this the way you'd think about adjusting the focus on a camera lens. A small, precise adjustment improves clarity. Overcorrecting introduces a different kind of distortion entirely.
Trick 2: Address Specific Problem Areas With Targeted Inpainting After Upscaling
If upscaling reveals a small flaw that wasn't obvious at the original lower resolution, like a slightly distorted detail in a hand, face, or texture, use inpainting to regenerate just that specific area at the new, higher resolution.
This combination, upscaling first, then correcting any newly visible flaws, often produces a cleaner final result than trying to fix every issue at the original lower resolution before scaling up.
Trick 3: Compare Multiple Upscaling Tools for Your Specific Image
Different AI upscaling tools are trained on different types of data, which means the same image can produce noticeably different results depending on which tool you use.
Run your image through two or three different upscaling tools if quality is especially important for your final use case, comparing fine details side by side before choosing the best result. This extra step takes a little more time but often reveals a clearly superior option for your specific image.
Maintaining Quality Across Future Projects
A successful upscale today builds confidence for handling resolution issues consistently going forward.
A few habits help maintain quality over time:
- Always save and organize your original, unscaled image files separately, so you can return to the highest quality starting point if you need to try a different upscaling approach later
- Keep notes on which upscaling tools and settings worked best for specific types of images, building a personal reference for future projects
- Reassess your upscaling workflow periodically, since these tools continue to improve and new options may produce better results than what you've used in the past
- Plan resolution needs earlier in your creative process, generating at a higher base resolution from the start whenever your tool supports it, reducing how much upscaling you'll need later
Think of this the way you'd think about archiving original photography files. Keeping a clean, unprocessed original gives you flexibility to revisit and improve your approach as better tools or techniques become available.
One detail worth knowing: AI upscaling technology continues to improve steadily, with newer tools and models often producing noticeably better detail reconstruction than earlier versions. An image that looked imperfect after upscaling in the past might produce a meaningfully better result with a newer tool or updated version of the same one.
Five Mistakes That Weaken Upscaling Results
Even with a solid process, these common mistakes can still undermine your final image quality.
Mistake 1: Upscaling a Compressed or Previously Shared Version
Using a version of your image that's already been compressed through messaging apps or social platforms locks in quality loss that upscaling can't fully recover. Always start from your original, unprocessed file.
Mistake 2: Jumping Straight to an Extremely Large Target Size
Scaling directly to a very large final size in a single step can produce more visible artifacts than a gradual, incremental approach. Moderate, reviewed steps generally produce cleaner results.
Mistake 3: Skipping a Close Review of Fine Details
Approving an upscaled image without zooming in on textures, edges, and small details risks missing distortions that become much more obvious at the final intended size. Always review closely before finalizing.
Mistake 4: Over-Sharpening to Compensate for a Weak Upscale
Applying heavy sharpening to mask an upscale that didn't add much real detail often creates a harsh, unnatural look rather than genuine clarity. A clean upscale needs less aggressive correction afterward.
Mistake 5: Using a Tool Not Suited to Your Image's Style
Running a photorealistic upscaling tool on stylized or illustrated artwork, or the reverse, can produce results that look subtly inconsistent with the original style. Match your tool choice to your image type whenever possible.
Sharper Results Are Closer Than You Think
Here's the most important thing to take from this guide: a low resolution image isn't a dead end. It's a solvable, well-understood technical step away from the polished, usable version you actually need.
Starting from the best original file, choosing a suitable upscaling tool, and reviewing your results incrementally together solve the vast majority of resolution problems people run into with AI generated artwork.
You don't need to abandon an image you love just because it started out too small for your intended use. The right upscaling process can recover that image at the size and quality you actually need.
Try upscaling one image you've been holding onto today, using the incremental approach from this guide. Seeing real, usable detail return to an image you thought was stuck at low resolution is one of the most satisfying small wins in working with these tools.