The Cramped Box of Default AI Generations
You sit down at your computer, your mind buzzing with a beautiful, vivid creative idea for a wide, cinematic fantasy valley. You spend twenty minutes writing a detailed prompt, describing the glowing sun, the ancient castles, and the deep rivers perfectly.
You press enter and wait with intense excitement as the image slowly loads on your screen. Your heart immediately sinks as Midjourney displays a tight, crowded square image where the beautiful mountain peaks and wide riverbanks are completely cut off.
Your majestic castle is squeezed into a tiny frame, making the entire composition look amateurish, cramped, and completely ruined. You find yourself trapped in a stressful loop of generating the same image over and over, hoping the AI will magically fix the framing on its own.
Why Traditional Prompt Tips Fail to Fix Your Composition
When desperate creators try to stop their images from looking crowded, they often use incorrect methods that waste their time. Rushing to add simple quality words to your text prompt without changing the physical canvas settings leads to continuous frustration.
Here is why common quick-fix prompt techniques usually fail:
- Adding words like "wide angle" or "panoramic" to your text: The AI model cannot bypass its physical frame settings, so it will simply draw a squished image inside a square.
- Trying to crop and stretch square images later in editing software: Stretching a square image to fit a wide screen makes the pixels look blurry, distorted, and highly unprofessional.
- Using default settings for every single project: Leaving your generator set to a square layout forces your portraits and wide environments into the wrong frames.
- Ignoring how the AI processes composition based on canvas shape: Failing to realize that the AI adds different elements based on the space available causes you to write bad prompts.
- Using old, outdated parameter codes from older software versions: Typing incorrect symbols or spaces at the end of your prompt causes the system to ignore your formatting entirely.
How Composition Frustration Drains Your Creative Confidence
Struggling with bad framing and cropped details takes a heavy emotional and financial toll on your digital art journey.
- Continuous anxiety before you click generate: You worry that your beautiful ideas will always look cramped and awkward, ruining your passion for creating.
- A feeling of wasting your limited fast GPU hours: Watching your precious monthly subscription hours disappear on badly cropped drafts adds to your daily stress.
- Embarrassment when posting your artwork online: You feel self-conscious when sharing your creations on social media because the borders look cut off.
- The feeling of being locked behind a technical wall: Watching other artists post gorgeous, wide-screen masterpieces makes you feel like you do not have the skills to compete.
Fortunately, you do not need to be a professional photographer or a computer programmer to fix these issues. By using one simple parameter code and understanding how neural networks process space, you can easily create beautifully framed digital artwork.
The Scientific Blueprint of Midjourney Aspect Ratios
To generate beautiful images in Midjourney, you must realize that the shape of your canvas is just as important as the words in your prompt. The generator does not simply stretch a square image to make it wider; it actively changes what it draws based on the dimensions you choose.
Think of your aspect ratio selection like choosing the physical canvas size before you start painting a picture.
If you give the AI a wide canvas, it has the space to add mountains, trees, and wide horizons.
If you force it into a tight square, it has to pack everything into a small space, which often results in cropped heads and messy compositions.
We will show you the first three essential steps to master Midjourney aspect ratios and use them to improve your AI art.
Step 1: Mastering the Spaced Parameter Code
The first step to taking control of your canvas size is learning the exact code that Midjourney uses to change dimensions. This parameter is called the aspect ratio parameter, and it must be typed at the very end of your prompt.
The Anatomy of the Aspect Ratio Code
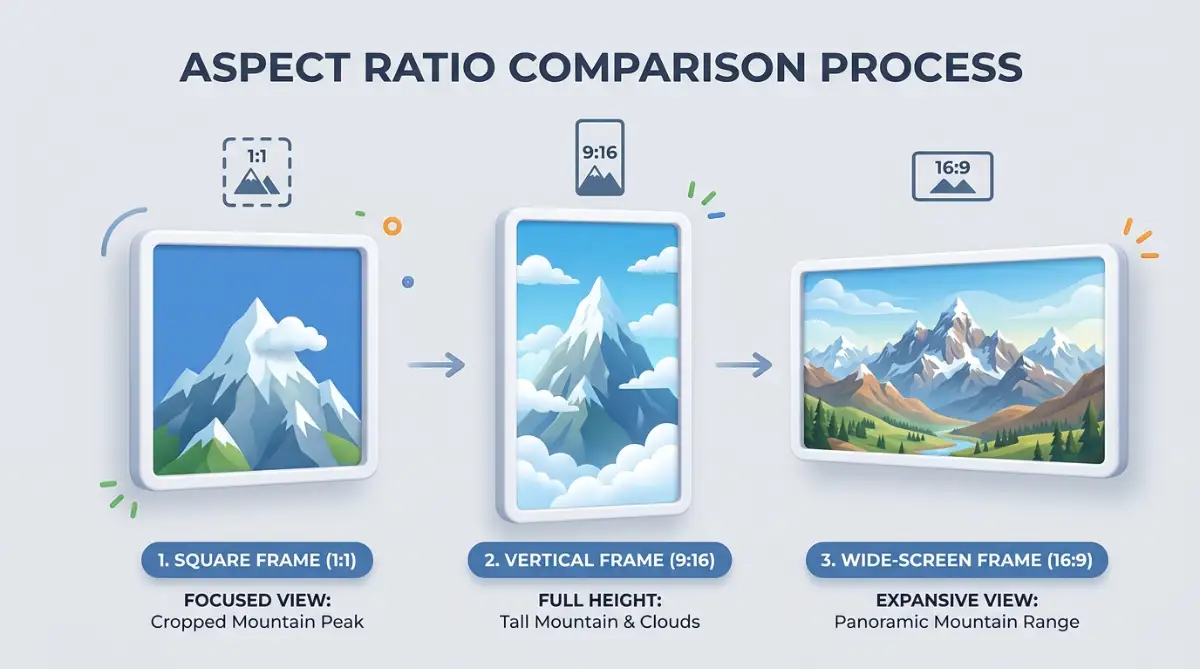
An aspect ratio is simply the relationship between the width and the height of an image, written as two numbers separated by a colon.
To tell Midjourney to change this ratio, you must use the code --ar followed by a space and your desired numbers.
If you miss the space or forget one of the hyphens, the system will ignore the code completely and generate a default square.
Step-by-Step Parameter Entry
Always write your descriptive text prompt first, explaining your subject, colors, and lighting choices clearly.
At the very end of your text, press the spacebar once, type --ar, press the spacebar again, and type your target ratio like 16:9.
This clean formatting ensures that the system reads your instructions perfectly.
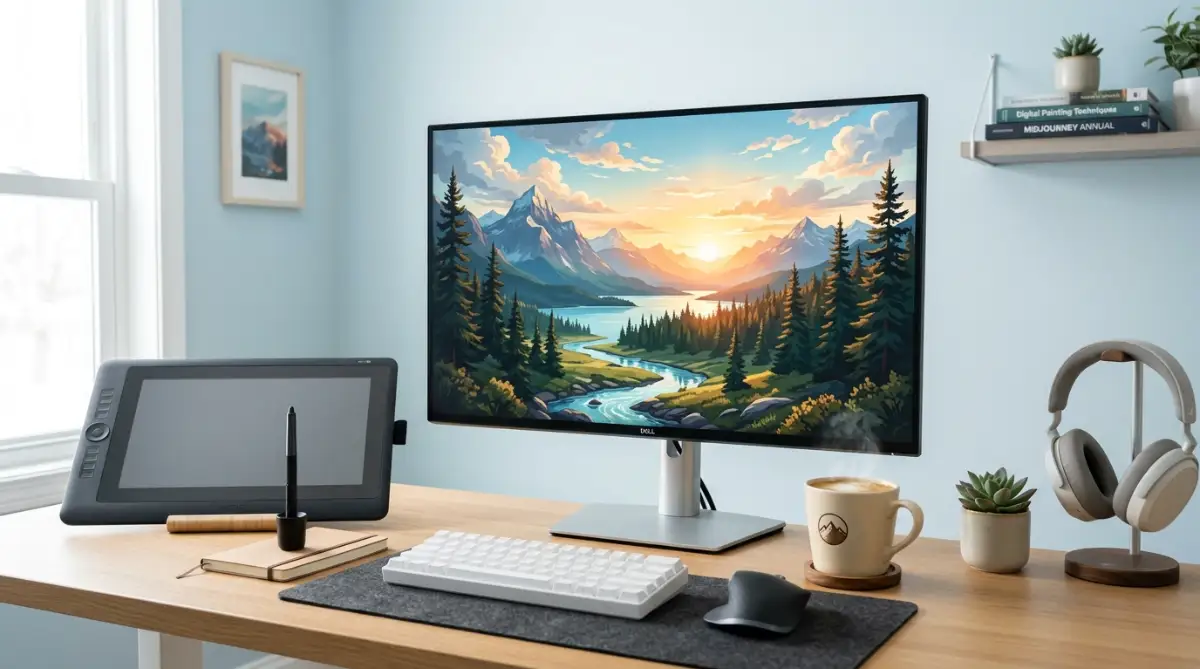
The generator will immediately build a wide, spacious canvas, giving your snowy mountain scenery the breathing room it needs to look epic.
Step 2: How Canvas Shape Changes AI Composition Psychology
One of the most amazing secrets of Midjourney is that changing the aspect ratio completely changes what the AI decides to draw.
The neural network does not just stretch your pixels; it uses the extra space to add rich, contextual details that match your prompt.
The Science of Spatial Generation
When you use a wide 16:9 aspect ratio, the AI's neural network recognizes that it has excess horizontal space to fill.
It will automatically add side elements like ancient trees, rolling hills, and wider horizons to balance the composition.
This spatial awareness is what makes your wide generations look so natural and beautifully balanced.
The Vertical Full-Body Solution
If you try to generate a full-body portrait of a character in a default square, the AI will struggle because it lacks vertical space.
It will often compromise by cropping off the feet or cutting the top of the head to make the body fit the square.
To fix this, simply change your parameter code to a vertical --ar 9:16 at the end of your prompt.
The vertical space gives the AI the room it needs to draw a complete head-to-toe figure, complete with high boots, long flowing robes, and a towering castle background.
Step 3: Selecting the Perfect Ratio for Your Specific Platform
To create professional-grade graphics, you must select the aspect ratio that matches where you plan to share your art.
Using the correct dimensions from the beginning saves you from having to crop and ruin your compositions later.
The Standard Social Media Dimensions
Different digital platforms require different image dimensions to look clean and engaging on mobile screens.
Always check your platform guidelines before you start writing your prompt.
Finding the Right Match for Your Projects
- Website Banners and Headers: Use a super-wide --ar 21:9 or --ar 3:1 to create spacious, panoramic graphics that span the entire screen.
- Cinematic Concept Art: Use --ar 16:9 or --ar 2.39:1 to capture the wide, dramatic feel of a professional movie screen.
- Mobile Wallpapers and Stories: Use a vertical --ar 9:16 to ensure your graphics fill the entire smartphone screen beautifully.
By implementing these three essential steps, you are successfully working with the core science of modern AI image tools. Your understanding of parameter codes, composition psychology, and platform dimensions will help you generate stunning, professional-grade digital artwork with complete control.
Step 4: Using the Zoom Out Feature to Reframe Your Art
Sometimes, you generate a beautiful square image that you absolutely love, but you realize later that you need it in a wide format.
You do not need to re-write your prompt and start over; you can use Midjourney's built-in Zoom Out feature.
This advanced tool allows you to expand the borders of an existing image while keeping the original subject completely untouched.
How to Zoom Out Safely
Uscale your favorite square image first by clicking the "U" buttons underneath your generation grid.
Once the image is upscaled, you will see a list of option buttons appear below it, including "Zoom Out 1.5x" and "Zoom Out 2x."
Clicking these buttons tells the AI to pull the camera back, generating brand-new matching scenery around the edges of your original art.
This simple tool allows you to rescue your favorite generations and turn them into spacious, wide-format masterpieces.
Step 5: Harnessing Pan and Custom Zoom for Unique Dimensions
If the standard zoom buttons do not give you the exact layout you want, you can use the Custom Zoom option to set your own unique ratios.
This advanced control method allows you to change both the camera distance and the aspect ratio of an existing image at the same time.
How to Structure Your Custom Zoom
Click the "Custom Zoom" button under your upscaled image to open a special text prompt box.
Change the default --zoom 1 code to --zoom 2 to double the camera distance.
Next, change the --ar 1:1 code to your desired wide layout, like --ar 16:9, and press enter.
The generator will keep your original subject perfectly centered while carving out gorgeous new wide-format details on the sides.
Critical Mistakes to Avoid on Your AI Composition Journey
Using Midjourney to create art is an exciting and empowering process, but it is very easy to make mistakes if you do not understand the software.
Knowing what not to do is just as important as knowing the right parameter steps.
Avoid these five common errors to keep your digital creations clean, sharp, and professional.
1. Placing the Aspect Ratio Parameter in the Middle of Your Prompt
One of the most common mistakes is typing your aspect ratio code in the middle of your descriptive text.
The text encoder reads parameters sequentially, and placing codes in the middle will confuse the system, causing it to ignore your instructions entirely.
Always keep your descriptive text at the front of your prompt, saving your double-hyphen parameters for the absolute end of your line.
This simple organization ensures the software reads your layout instructions perfectly every single time.
2. Using Flimsy, Non-Standard Ratios for Print Media
If you plan to print your AI art on physical canvases or posters, using non-standard aspect ratios can make it incredibly difficult to find matching frames.
You do not want to spend hours generating an image only to realize that no standard frame fits its dimensions.
Before you generate, check the standard print dimensions of the physical frames available at your local craft store.
Use standard print ratios like --ar 2:3 (for 4x6 or 8x12 prints) or --ar 3:4 (for 5x7 or 9x12 prints) to make printing easy.
3. Forgetting the Space Between the Hyphens and the Ratio Numbers
Discord commands are highly sensitive to spacing, and even a single missing space can break your entire code.
If you type --ar16:9 without a space after the "ar," the system will read it as a typo and default to a square image.
Always double-check your spacing before pressing enter, ensuring there is a single space after your text and another space after the "ar" code.
This small check will save you from wasting your precious fast GPU hours on bad generations.
4. Over-Stretching Low-Resolution Generations manually
Some beginners generate an image in a tight square and then try to use photo-editing software to stretch the edges manually.
This manual stretching ruins the proportions of your subjects, making faces look wide, flat, and highly amateurish.
Always use Midjourney's built-in Pan, Zoom Out, or Outpainting features to expand your borders.
These tools use the AI's neural network to generate real, highly detailed matching pixels, keeping your compositions looking sharp.
5. Feeling Discouraged by Bad Crops on Your First Try
It is completely natural for your vertical or wide generations to feature weird crops or empty spaces on your first attempt.
Remember that generating AI art is an iterative process that requires constant adjustments and testing.
If an image looks slightly off, use the Pan buttons to gently nudge the camera view up, down, left, or right.
This active guidance gives you complete control over your final artwork, turning the generator into a true digital paint tool.
Mastering the Future of AI Art Composition
Embracing aspect ratios as a key part of your creative toolkit is one of the most exciting and rewarding steps you can take in AI art.
It does not require years of traditional physical training, expensive art school tuition, or a massive budget to achieve success.
By selecting the right parameters, understanding composition psychology, and mastering zoom features, you can create anything.
You will feel a wonderful sense of joy and relief every time you watch a beautiful, spacious masterpiece emerge on your screen.
Choose your favorite aspect ratio, type your first structured parameter code today, and start enjoying the wonderful freedom of limitless digital creativity!